To setup NetSPIDER, provided installer needs to be launched.
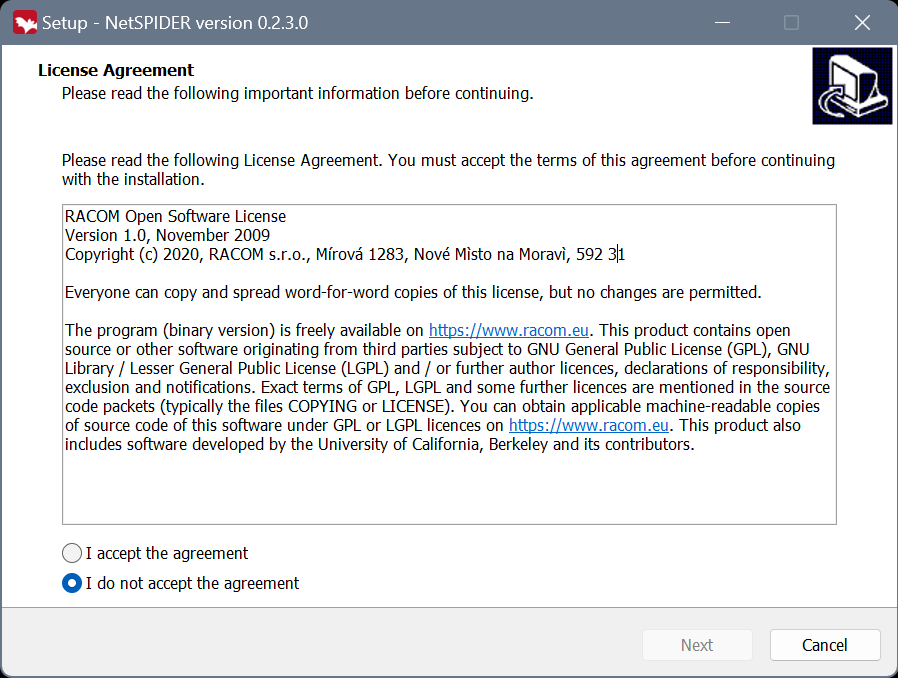
License needs to be accepted.
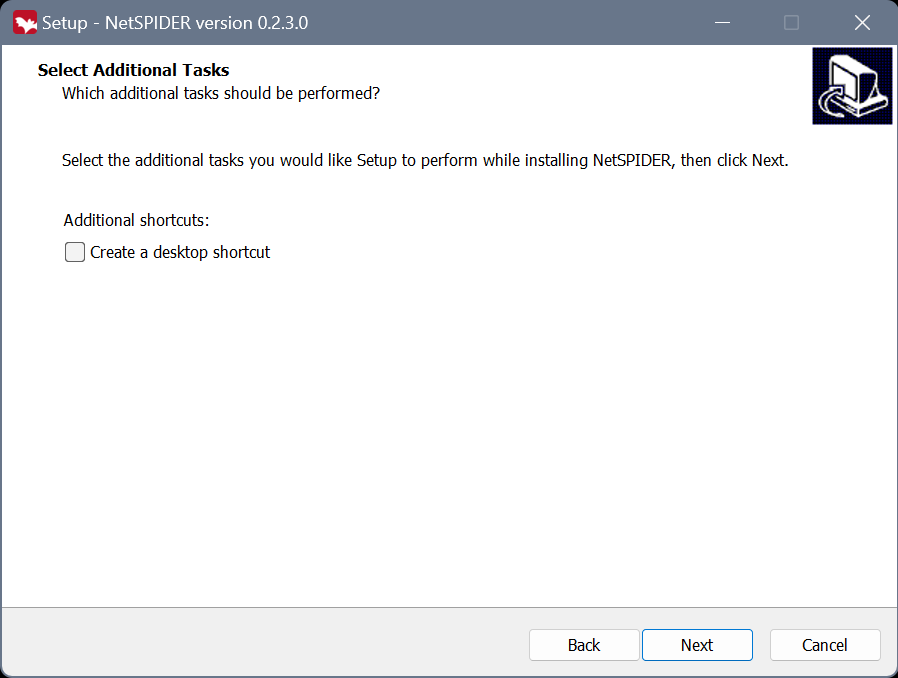
Next window allows for desktop shortcut creation.
NetSPIDER installation will commence after clicking „Next“ and then „Install“.
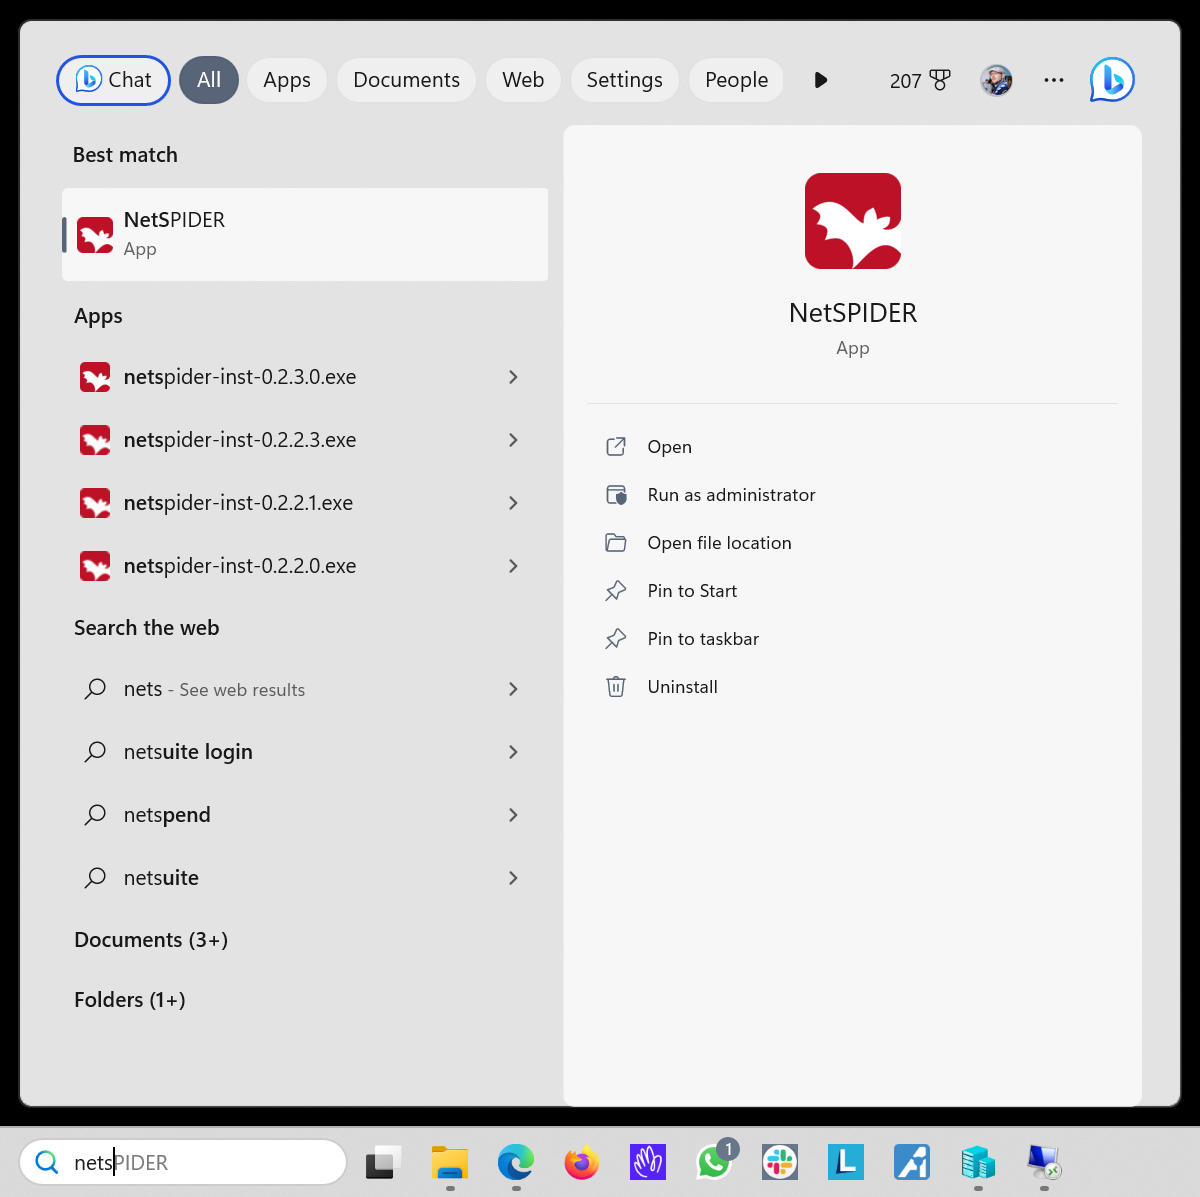
NetSPIDER can then be launched by searching for the app name in start menu or using desktop shortcut. NetSPIDER web interface will launch automatically in default browser.
| Important | |
|---|---|
When installing new version of NetSPIDER over an old one, all instances of NetSPIDER need to be closed before launching the installer. In case some processes are still running, the installer offers to close them. |
This guide uses Ubuntu Linux 20 LTS as an example. Installation in other distributions is similar.
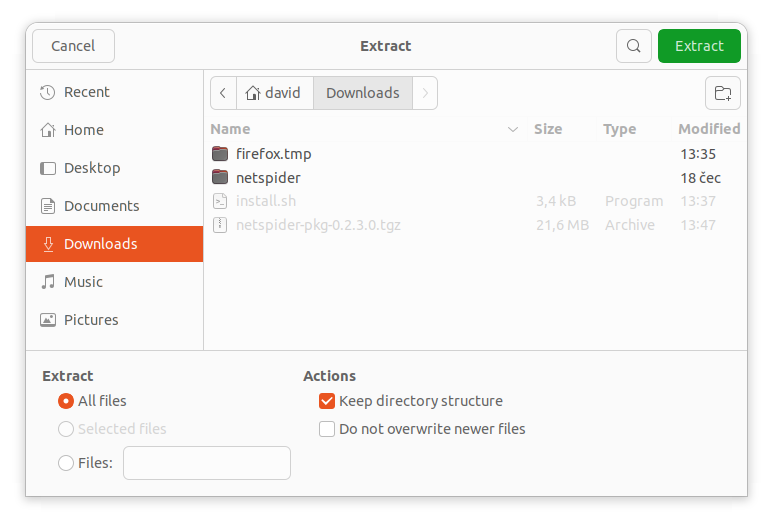
To install NetSPIDER on Linux, provided archive “netspider-linux.tar.gz“ needs to be extracted.
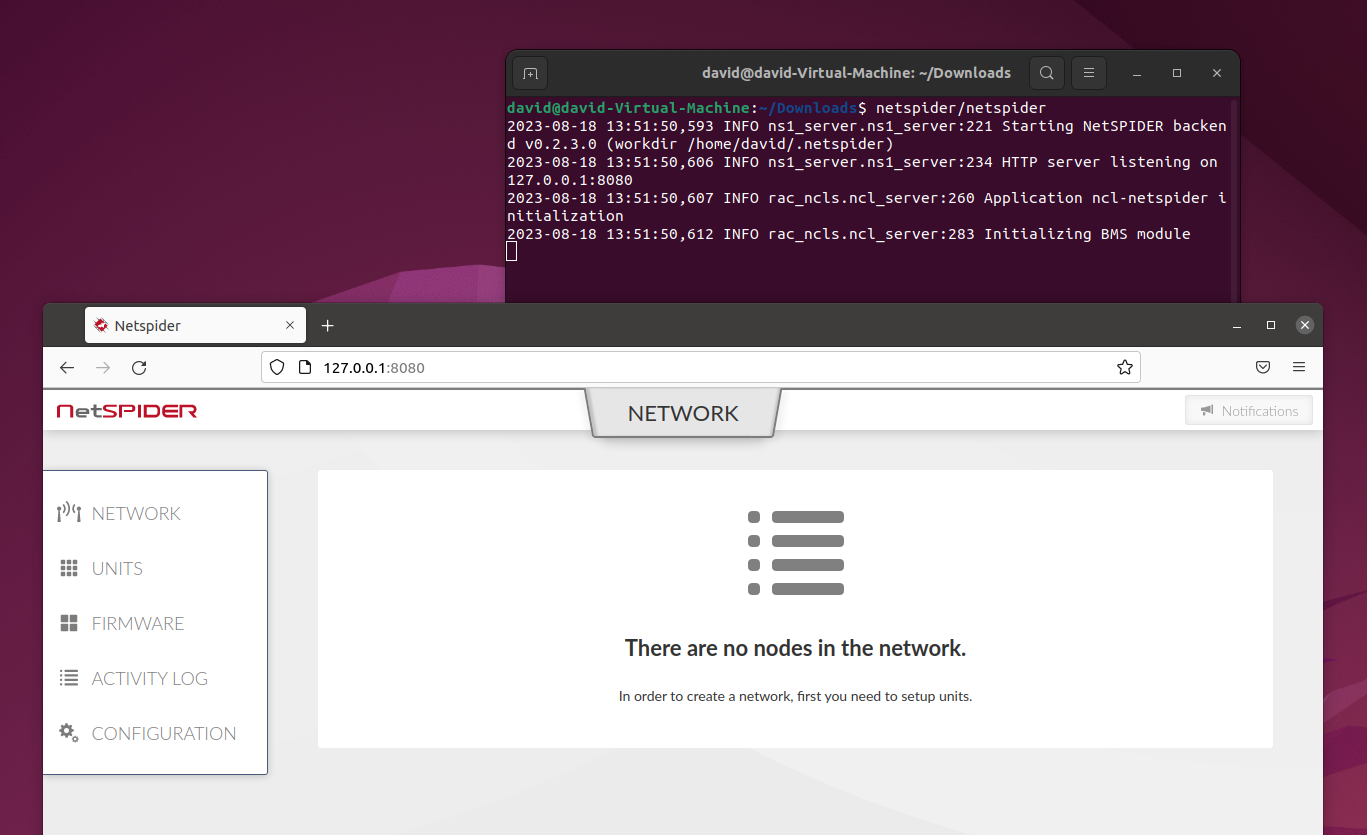
To run NetSPIDER, simply execute netspider/netspider binary in terminal. Please note, that the NetSPIDER web interface can be accessed using any modern web browser using URL shown in the terminal window. Most probably at https://localhost:8080./