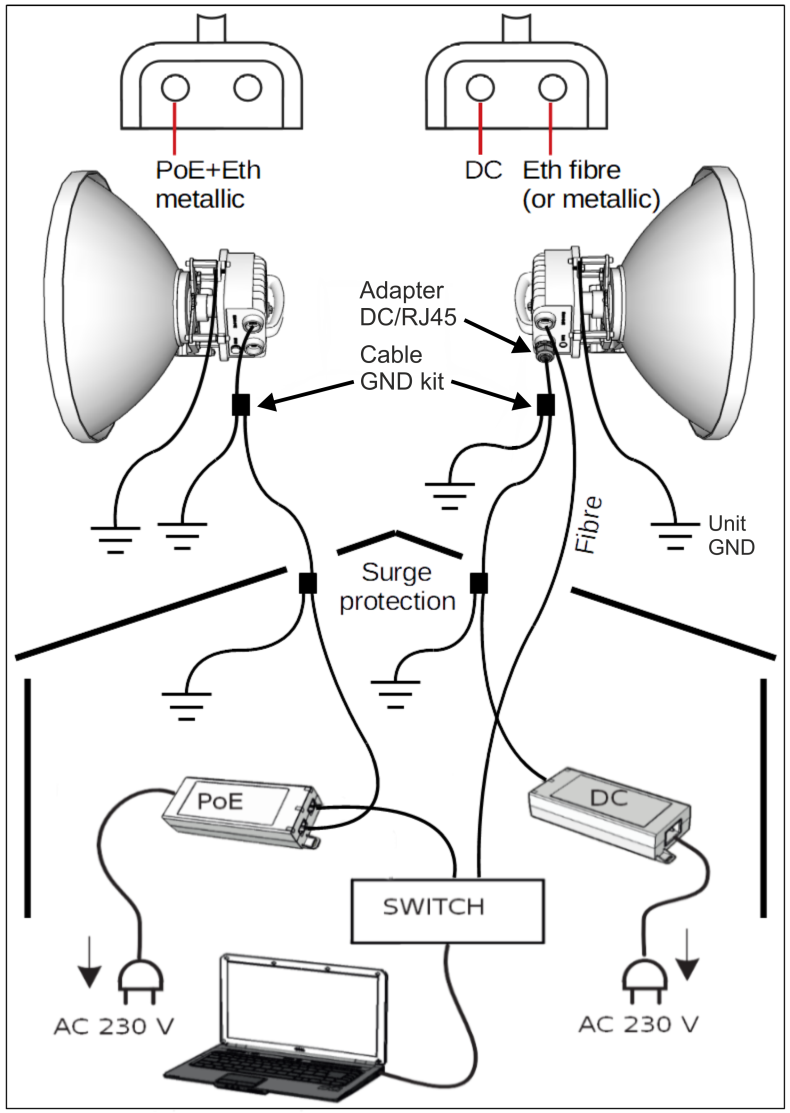
Accessing units
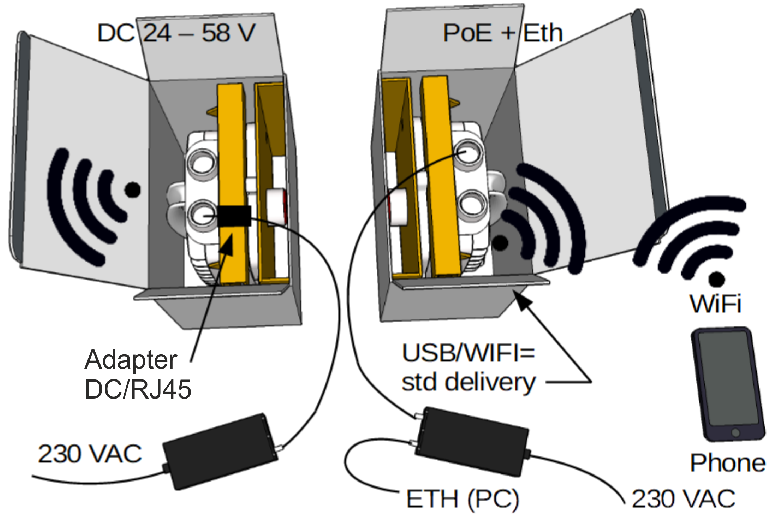
– Default IP addresses for Ethernet access: 192.168.169.169 / 24 (L unit)
192.168.169.170 / 24 (U unit)
– Default IP address for USB/WiFi or USB/Eth access: 172.17.17.17 / 24 (both units)
Ethernet access – set computer IP address within the range 192.168.169.1-254 (except 169 and 170).
USB/WiFi or USB/Eth access – IP address set automatically by DHCP (enabled by default, can be disabled in unit management).
Default WiFi setting is without any password (recommended is to set one immediately).
– Web browser access to management: – Antenna Alignment Tool:
https://172.17.17.17 (both units, USB/WiFi or USB/Eth) https://172.17.17.17/tk (both units, USB/WiFi or USB/Eth)
or https://192.168.169.169 (L unit, Ethernet) or https://192.168.169.169/tk (L unit, Ethernet)
or https://192.168.169.170 (U unit, Ethernet) or https://192.168.169.170/tk (U unit, Ethernet)
The user is prompted to enter a username and password. No Username or Password is required for Tool
When logging in for the first time, accept the HTTPS security certificate issued by .
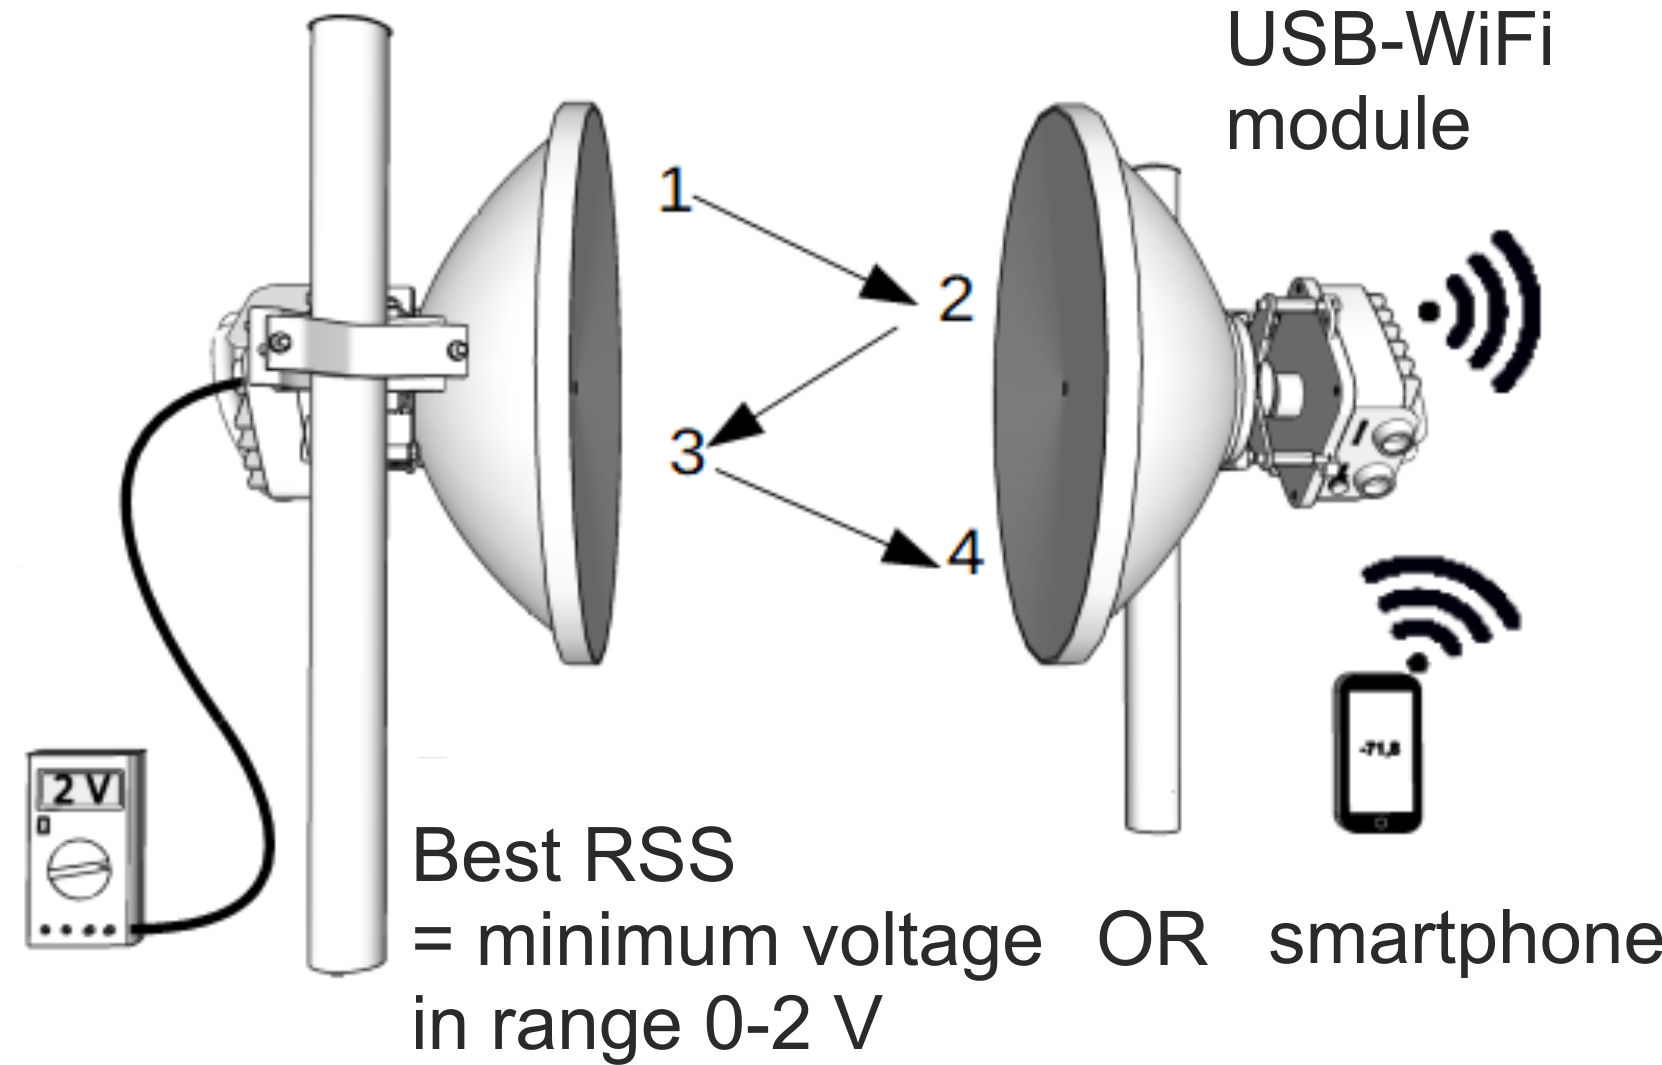
If the units are linked to each other, the status indicator in management interface states “OK” and status LED “AIR” lights
green. If not, utilize the antenna alignment (see picture 10 and Antenna Alignment Tool above).
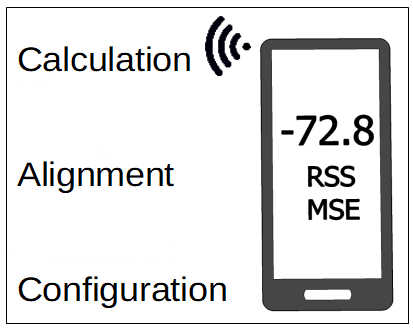
and of basic parameters
– Set bandwidth, TX/RX channel, TX modulation, RF power, IP addresses (do not use
the default ones), Access channels (ssh, HTTPS, …).
– Change the password, restart both units and check the link status (to verify that the parameters are saved correctly).
– Backup the configuration in the Tools > Maintenance > Backup > Settings menu.
Store the backup file to your PC.
